
A key ability for each app developer is having the ability to profile your app’s efficiency. Your app may look nice on the floor, but when it doesn’t carry out properly, it’s going to really feel off—typically subtly, typically very noticeably. Stunning animations, slick interactions, and huge information units all fall flat if the app feels sluggish or unresponsive.
Nice apps reply immediately. They present that you simply’ve tapped one thing straight away, and so they make interactions really feel clean and satisfying.
To verify your app behaves like that, you’ll must keep watch over its efficiency. On this put up, we’ll have a look at how you should utilize Devices to profile your SwiftUI app. We’ll cowl the best way to detect gradual code, observe view redraws, and perceive when and why your UI updates. For those who’re fascinated by a deeper dive into SwiftUI redraws or profiling gradual code, try these posts:
We’ll begin by constructing your app for profiling, then have a look at the best way to use Devices successfully—each for SwiftUI specifics and normal efficiency monitoring.
Constructing an app for profiling
Step one is to construct your app utilizing Product > Profile, or by urgent Cmd + I (sidenote: I extremely advocate studying shortcuts for command you employ incessantly).
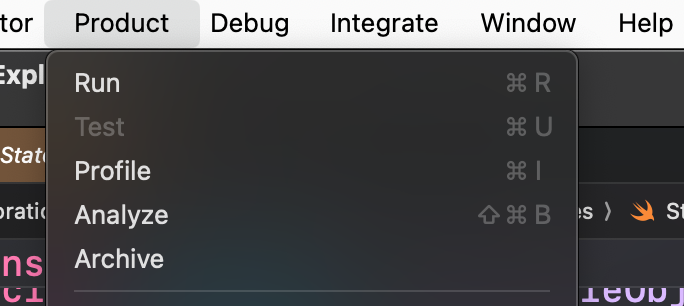
This builds your app in Launch mode, utilizing the identical optimizations and configurations as your manufacturing construct.
That is essential as a result of your growth construct (Debug mode) isn’t optimized. You may see efficiency points in Debug that don’t exist in Launch. I lately had this occur whereas working with massive information units—code ran fairly horrible in Debug was optimized in Launch to the purpose of not being an issue in any respect.
When this occurs, it often means there’s some inefficiency underneath the hood, however I wouldn’t spend an excessive amount of time on points that disappear in Launch mode when you have got larger points to work on.
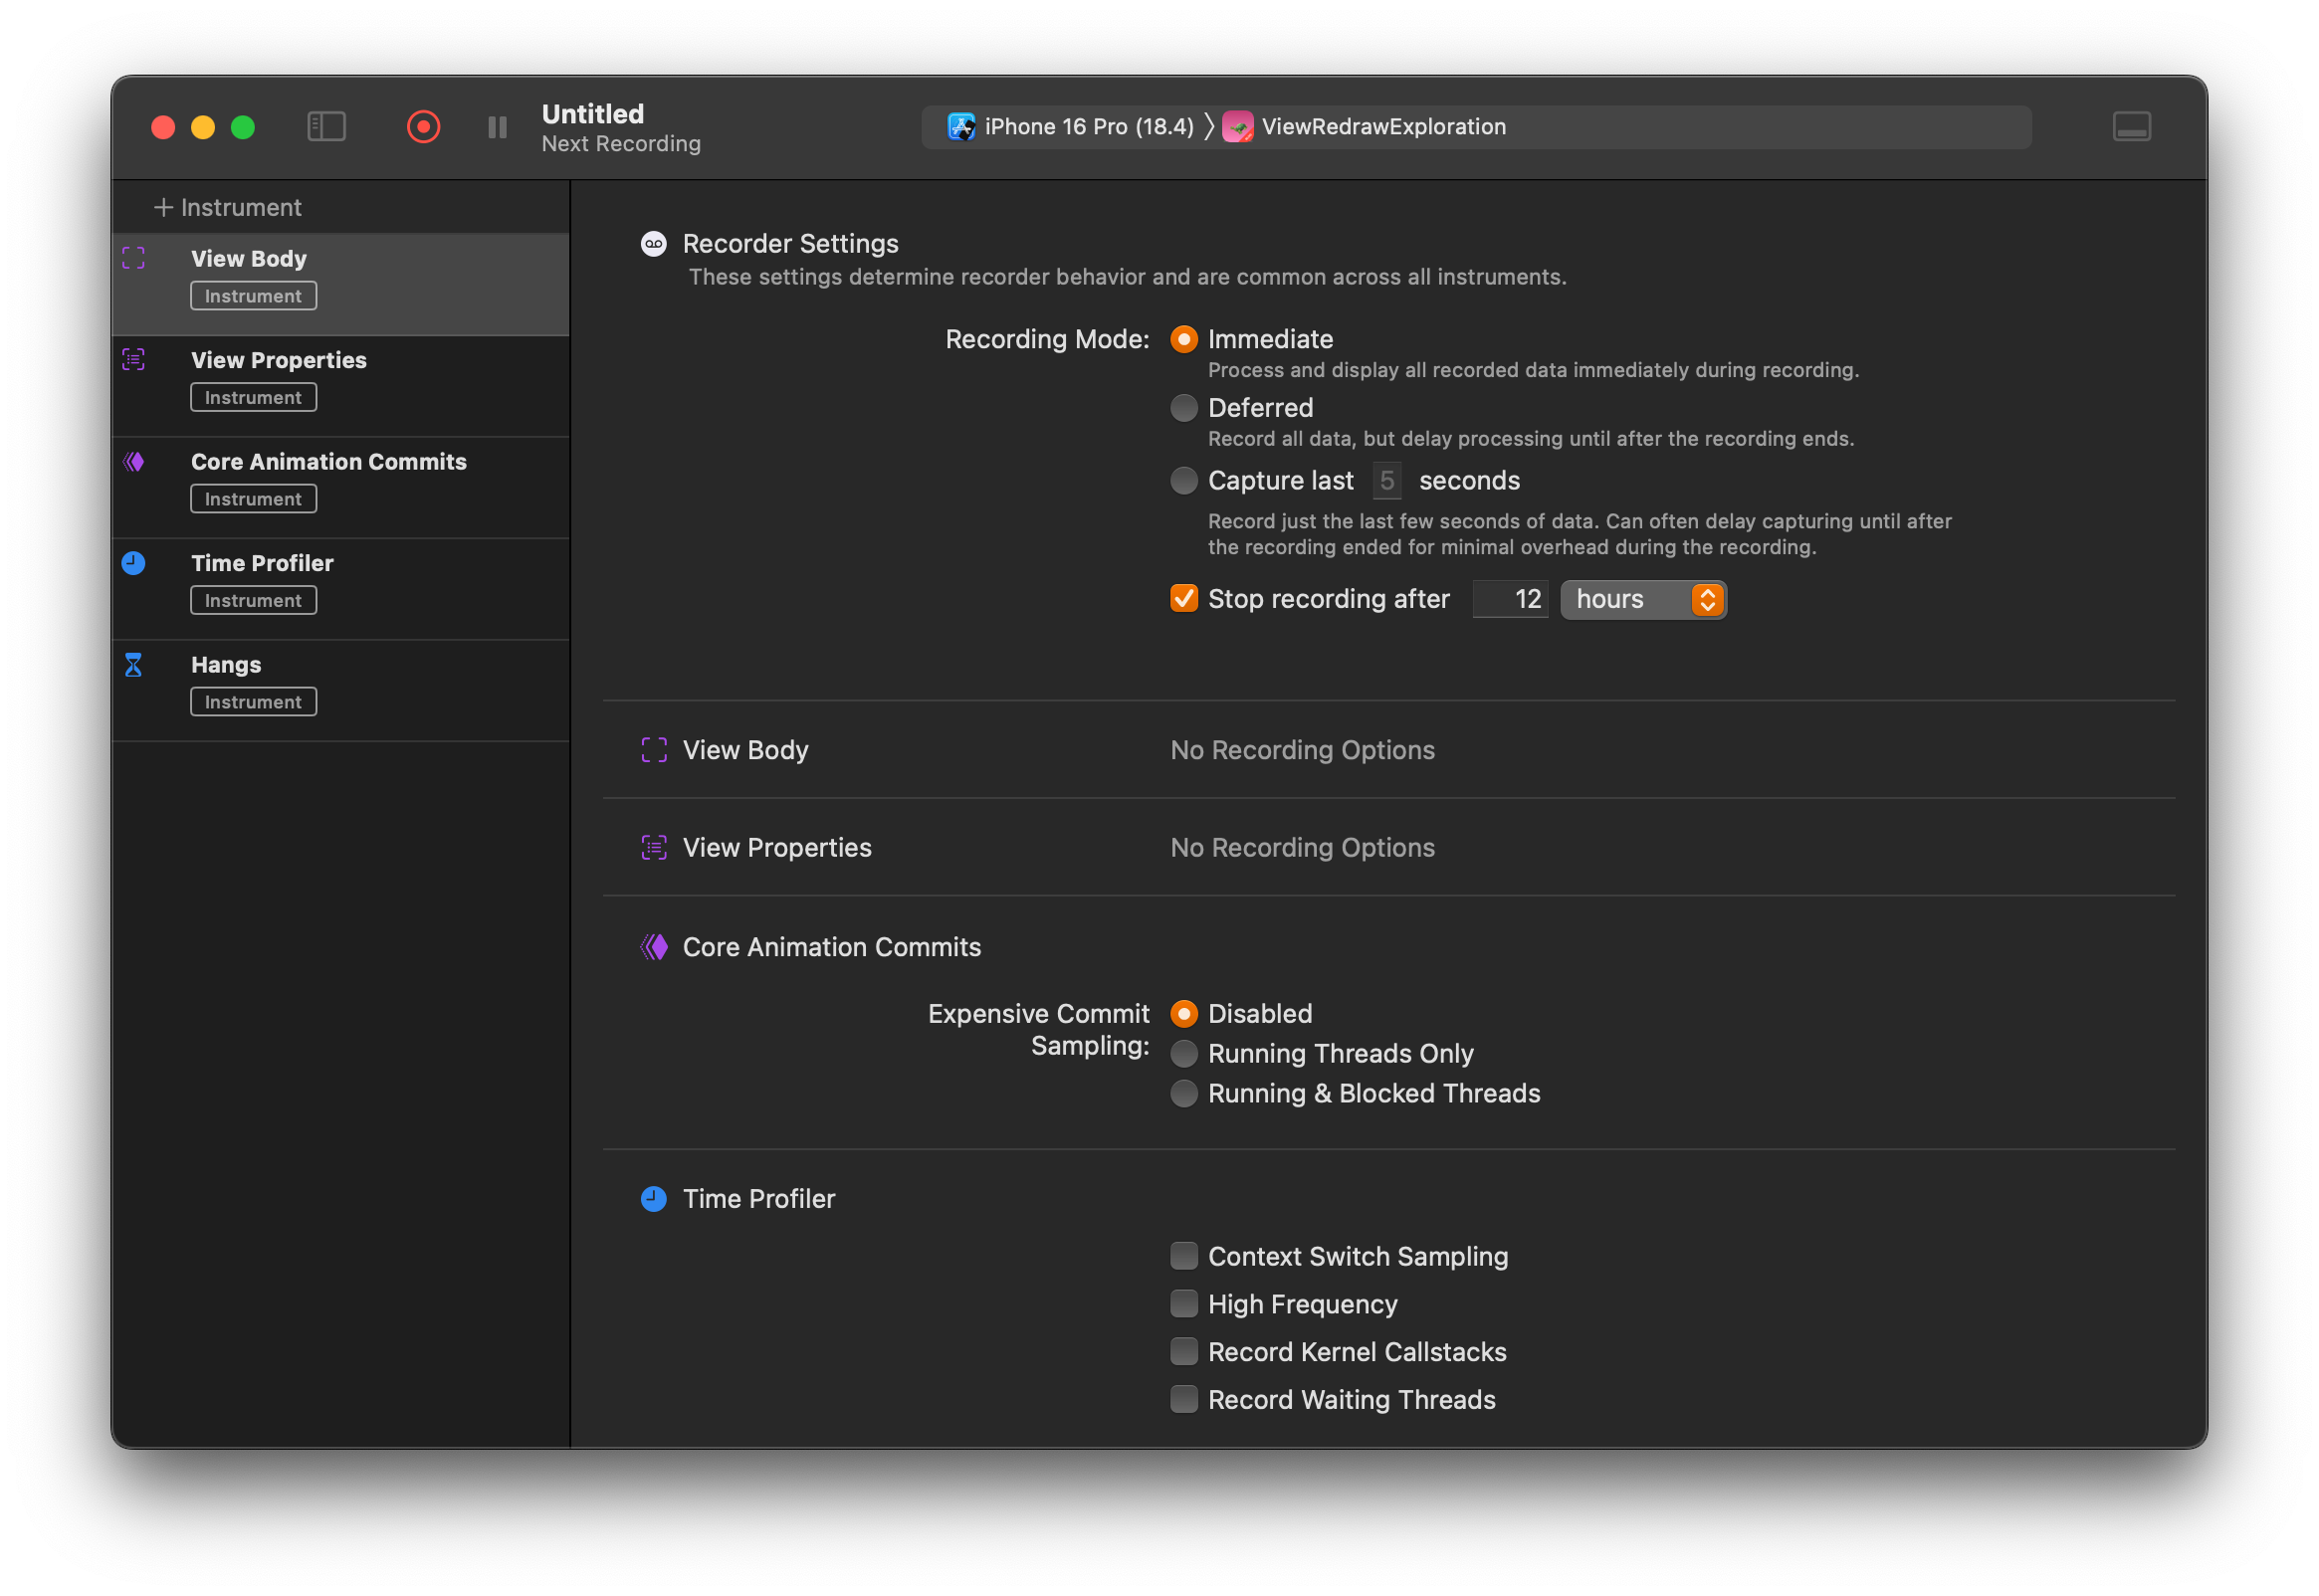
As soon as your app is constructed and Devices launches, you’ll see a bunch of templates. For SwiftUI apps, the SwiftUI template is often the precise alternative—even in the event you’re not profiling SwiftUI-specific points. It consists of every thing you want for a typical SwiftUI app.

After selecting your template, Devices opens its major window. Hit the purple document button to start out profiling. Your app will launch, and Devices will begin amassing information in real-time based mostly on the devices you chose. The SwiftUI template collects every thing in real-time.
Studying the collected information
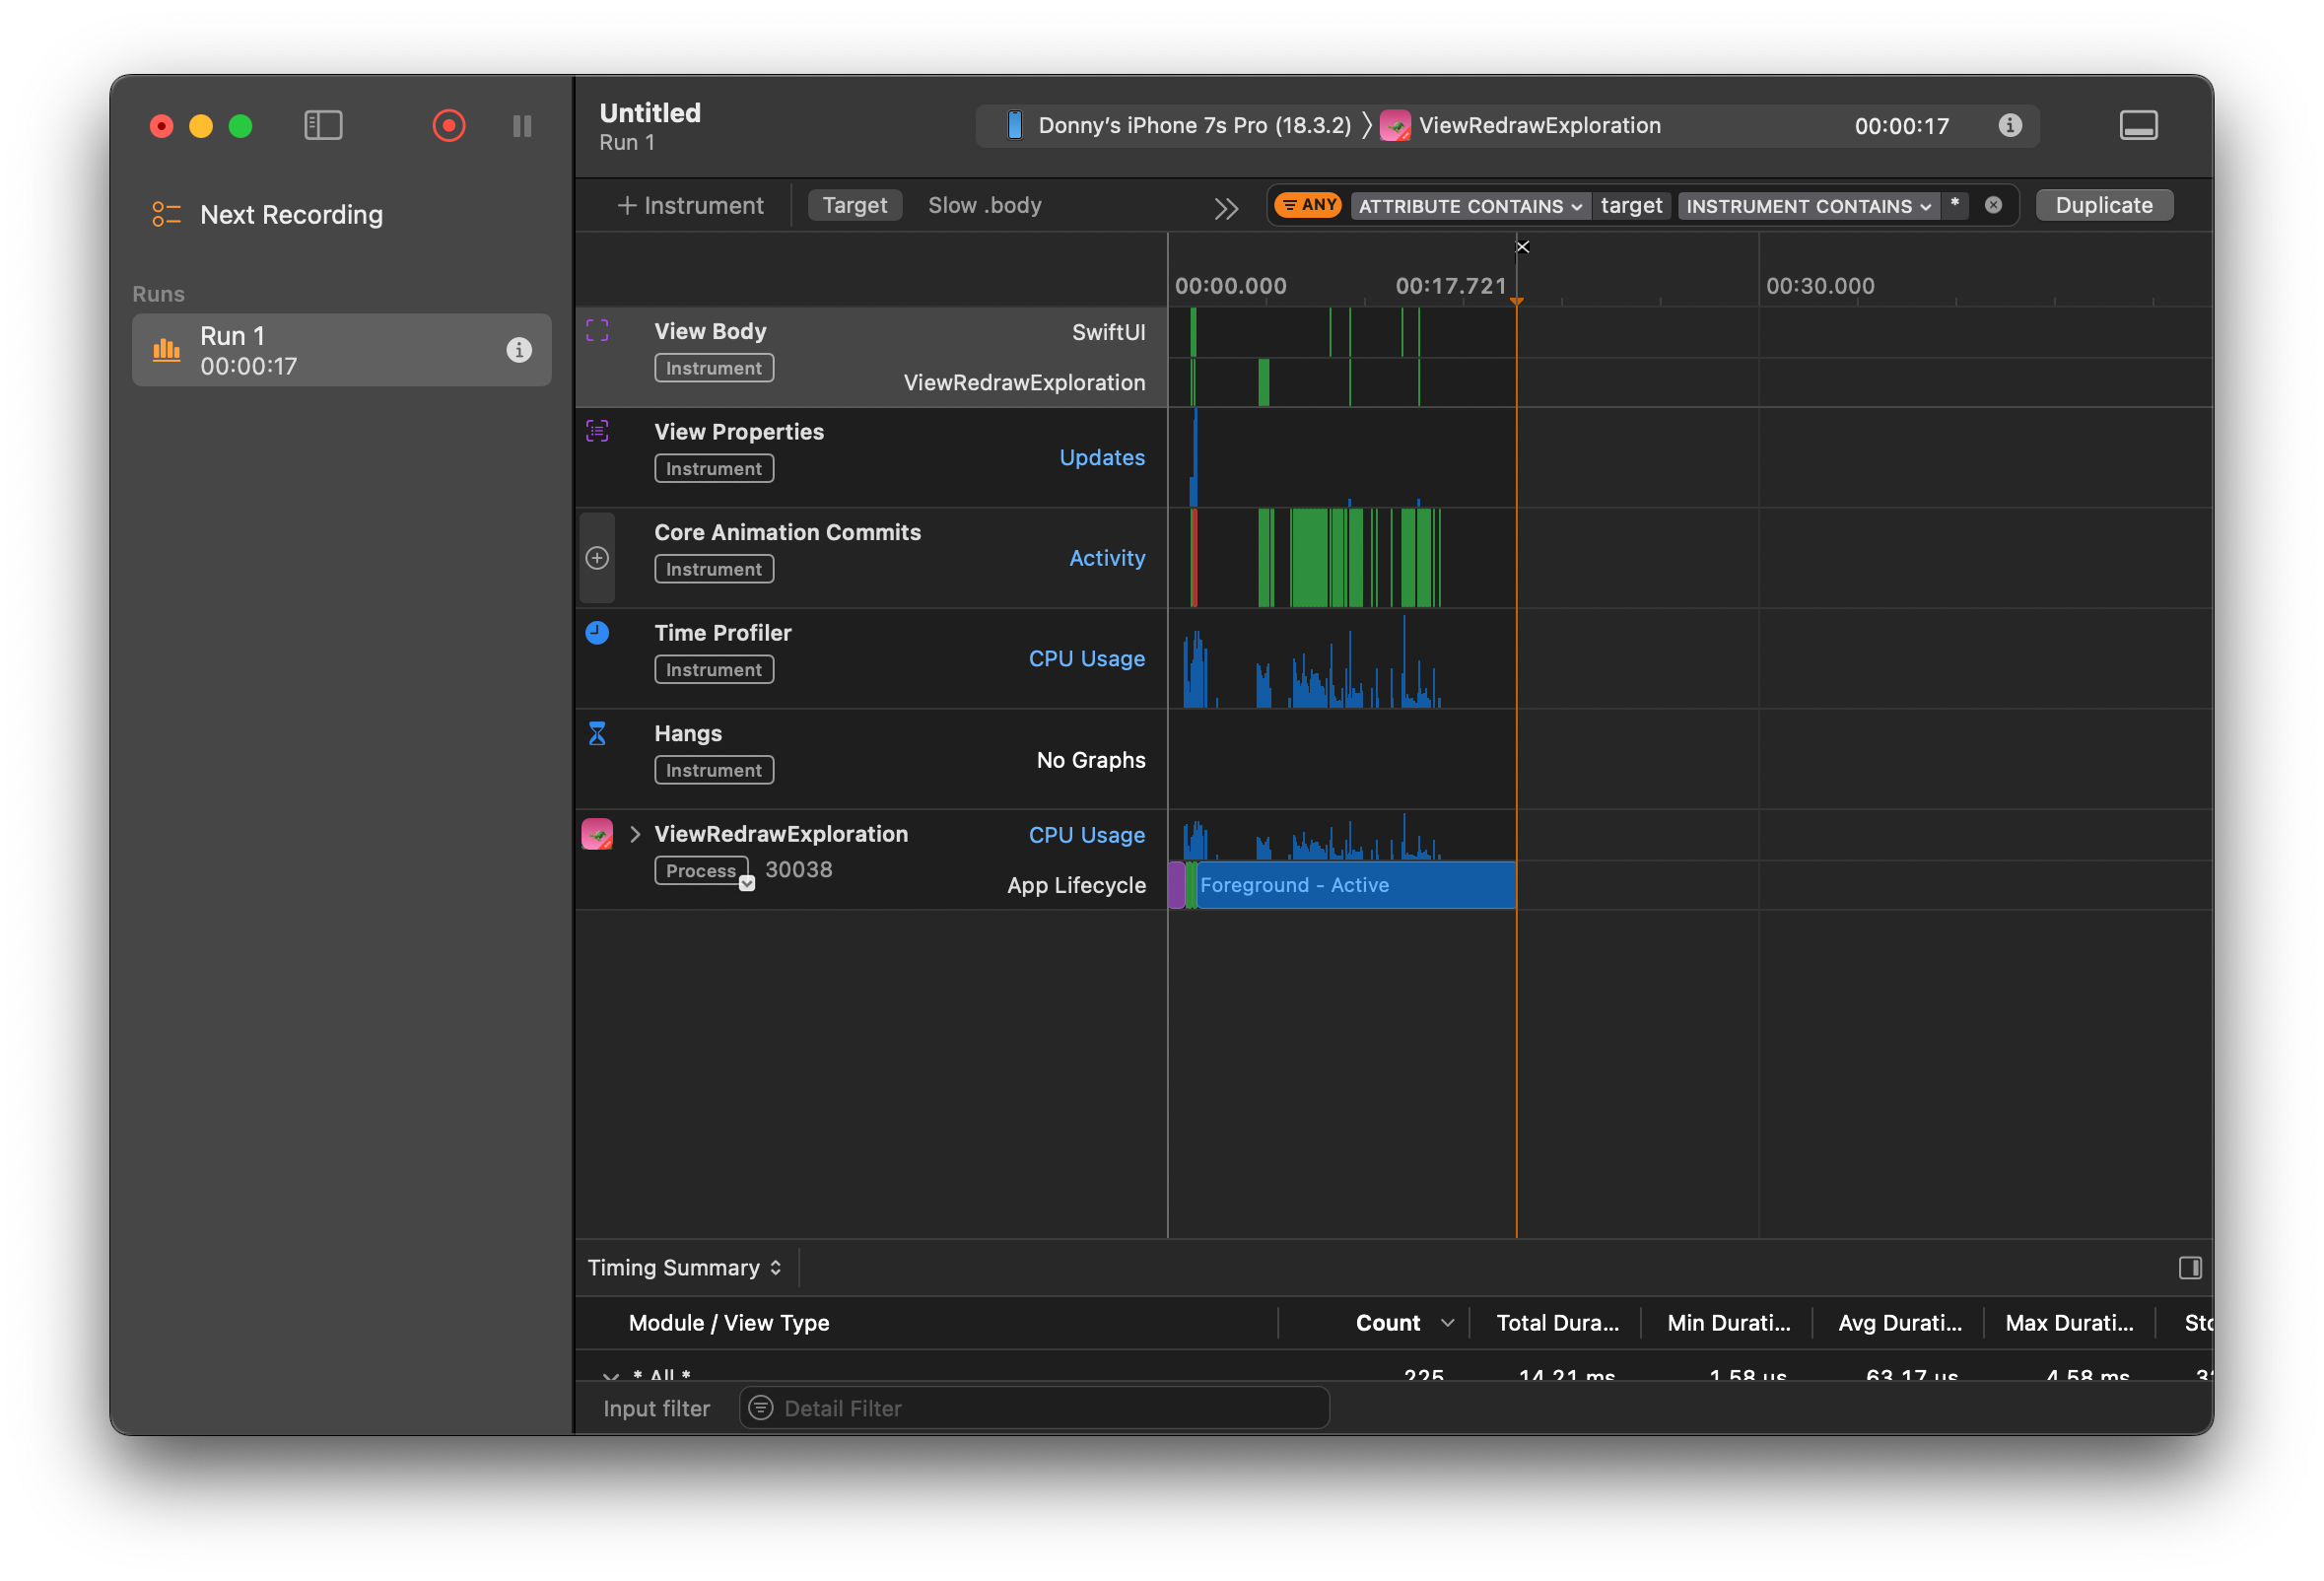
Devices organizes its information into a number of lanes. You’ll see lanes like View Physique, View Properties, and Core Animation Commits. Let’s undergo them from prime to backside.
Word that I’m testing on a bodily system. Testing on the simulator can work okay for some use circumstances however outcomes can range wildly between simulators and gadgets as a result of sources obtainable to every. It’s at all times really helpful to make use of a tool when testing for efficiency.
The View Physique lane
This lane exhibits how usually a SwiftUI view’s physique is evaluated. At any time when SwiftUI detects a change in your app’s information, it re-evaluates the physique of any views that rely on that information. It then determines whether or not any baby views should be redrawn.
So, this lane primarily exhibits you which of them views are being redrawn and the way usually. For those who click on the timing abstract, you’ll see how lengthy these evaluations take—complete, min, max, and common durations. This helps you determine whether or not a view’s physique is fast or costly to judge.
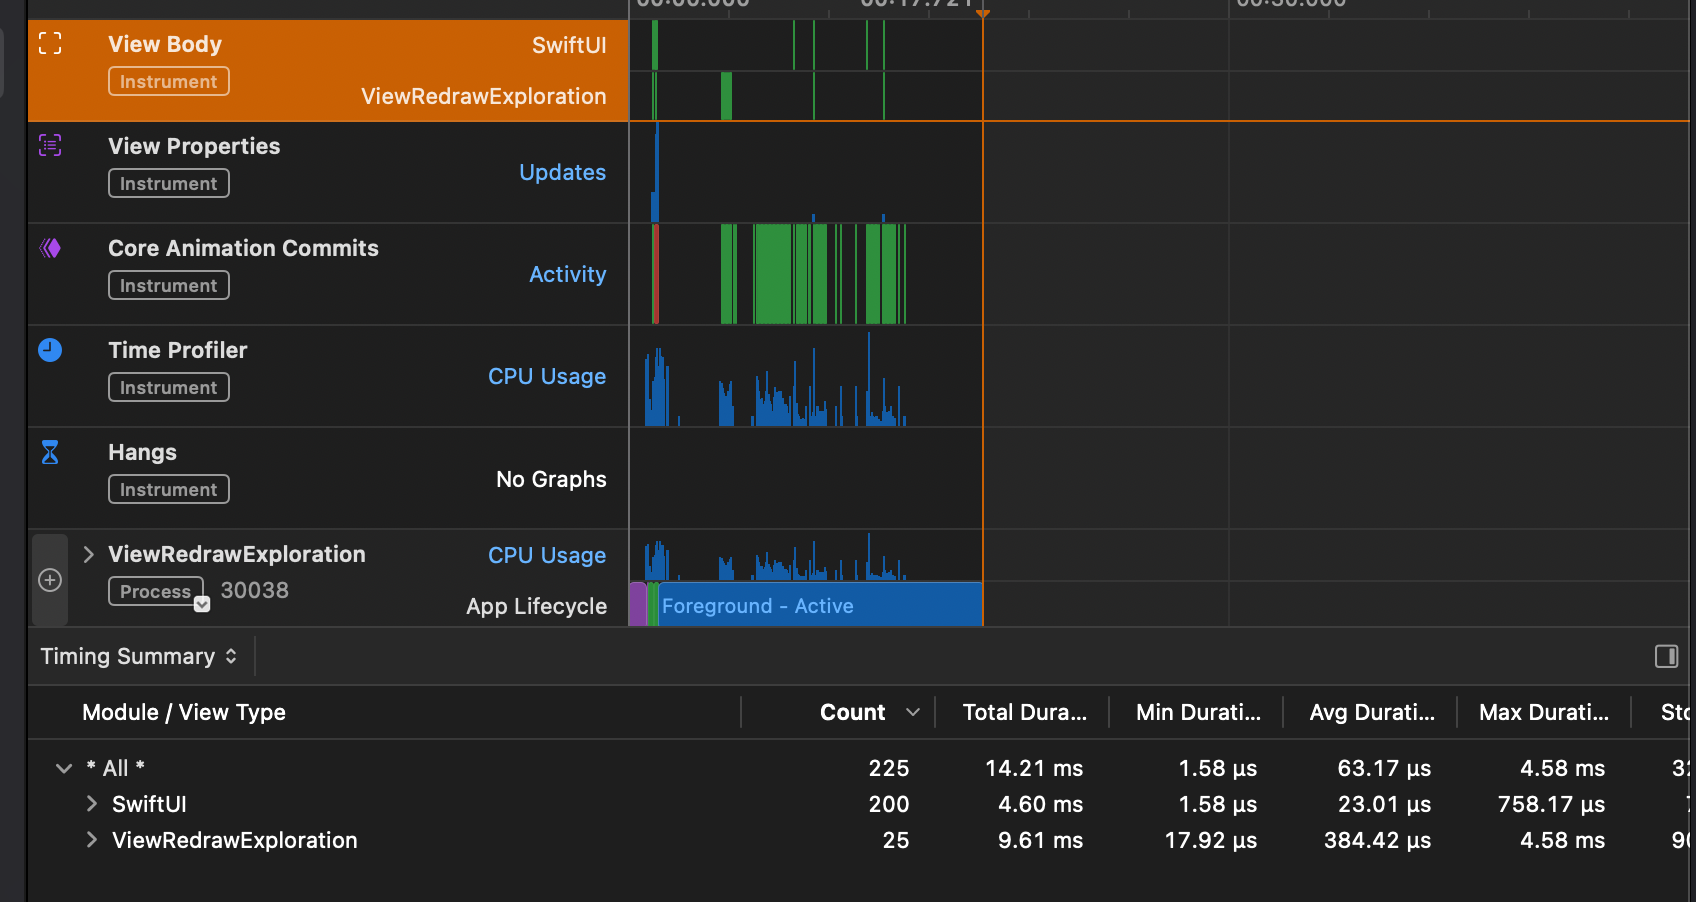
By default, Devices exhibits information for the complete profiling session. Meaning a view that was evaluated a number of instances could have been triggered by completely different interactions over time.
Normally, you’ll wish to profile a selected interplay. You are able to do this by dragging throughout a timeframe within the lane. This allows you to zoom in on a selected window of exercise—like what occurs once you faucet a button.
When you’ve zoomed in, you can begin to kind a psychological mannequin.
For instance, if tapping a button will increase a counter, you’d count on the counter view’s physique to be evaluated. If different views just like the button’s dad or mum additionally redraw, that may be sudden. Ask your self: did I count on this physique to be re-evaluated? If not, it’s time to look into your code.
In my put up on SwiftUI view redraws, I clarify extra about what may cause SwiftUI to re-evaluate views. It’s price a learn if you wish to dig deeper.
View Properties and Core Animation Commits
The View Properties and Core Animation Commits lanes are ones I don’t use fairly often.
In View Properties, you possibly can see which items of state SwiftUI tracked to your views and what their values have been. In principle, you possibly can work out how your information mannequin modified between physique evaluations—however in apply, it’s not at all times simple to learn.
Core Animation Commits exhibits how a lot work Core Animation or the GPU needed to do when redrawing views. Normally, it’s not too heavy, but when your view physique takes a very long time to judge, the commit tends to be heavier too.
I don’t have a look at this lane in isolation, nevertheless it helps to get a way of how costly redrawing grew to become after a physique analysis.
Studying the Time Profiler
The Time Profiler may be essentially the most helpful lane within the SwiftUI Devices template. It exhibits you which of them code was working on which thread, and the way lengthy it was working.
You’re primarily seeing snapshots of the CPU at brief intervals. This provides you perception into how lengthy particular features have been energetic.
When profiling SwiftUI apps, you’ll often be fascinated by code associated to your information mannequin or views. If a operate updates your information and seems gradual, or if it’s known as from a view physique, that may clarify a efficiency situation.
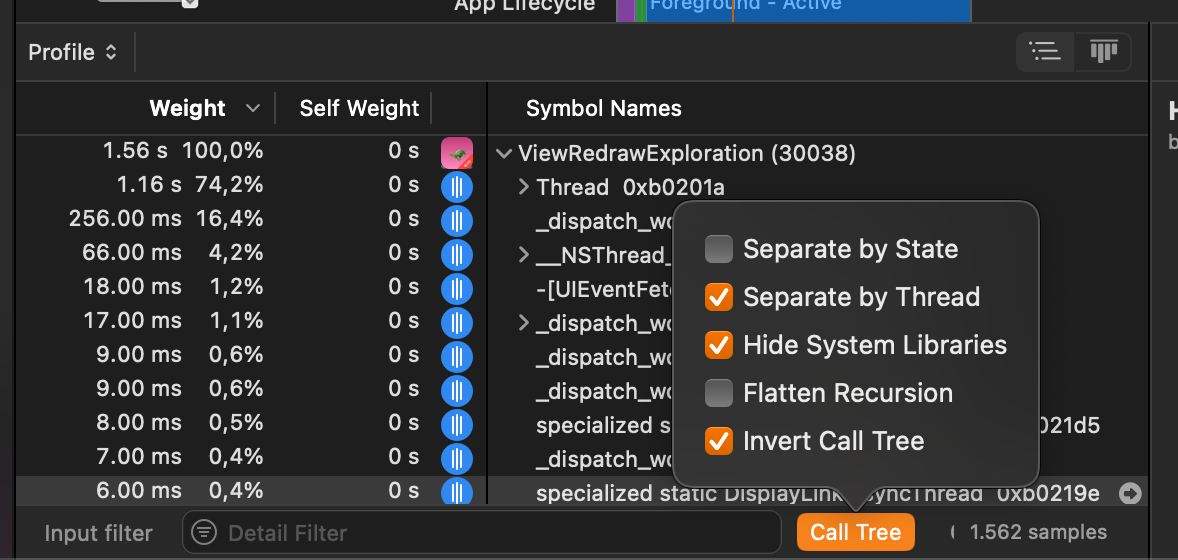
Getting comfy with the time profiler takes a little bit of apply. I like to recommend taking part in round with the decision tree settings. I often:
- Separate by thread
- Invert the decision tree
- Cover system libraries
Generally, I tweak these settings relying on what I’m looking for. It’s price exploring.
In abstract
Profiling your code and understanding the best way to use Devices is crucial if you wish to construct responsive, high-quality apps. As your app grows, it will get tougher to mentally observe what ought to occur throughout an interplay.
The tough half about utilizing Devices is that even with a ton of knowledge, it is advisable to perceive what your app is meant to be doing. With out that, it’s exhausting to inform which components of the info matter. One thing may be gradual—however that may be okay if it’s processing lots of information.
Nonetheless, entering into the behavior of profiling your app repeatedly helps you construct a way of what’s regular and what’s not. The sooner and extra usually you do that, the higher your understanding turns into.

